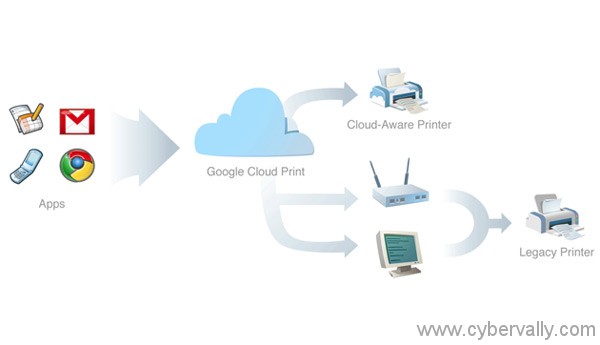
Google Cloud Print is a new feature from google, working on their Cloud Print protocol and finally Google Cloud Print is available for everyone. Google Cloud Print allows anyone to attach a printer in one location and then print documents from anywhere. Also enabling users of GMail or Google Docs to send pages from their phones through internet for print on a printer connected to Google’s cloud.

You need to be running the Latest beta version of Google Chrome for Windows, which should be version 9.0.587 or greater. Cloud Print currently doesn’t work on OS X or Linux. If you’re using another browser, you’ll need to download and install the beta version which you can get from the Cloud Print site.
How to Setup Cloud Print
1) Open Google Chrome.
2) Click the tool icon  on the browser toolbar.
3) Select Options.
4) Scroll down to the “Google Cloud Print†section.

5) Click Sign in to Google Cloud Print.
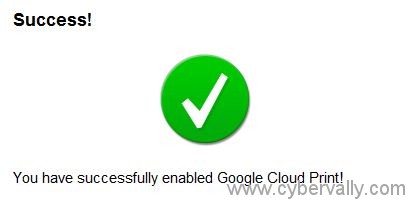
6) A message appears confirming that Google Cloud Print has been enabled. Click OK.

The printer is now associated with your Google Account and connected to Google Cloud Print. Now you can print to this printer whenever you’re signed in with the same account on another PC or Mobile. Up to three printers you can connect to Google Cloud Print using the same Google Account.
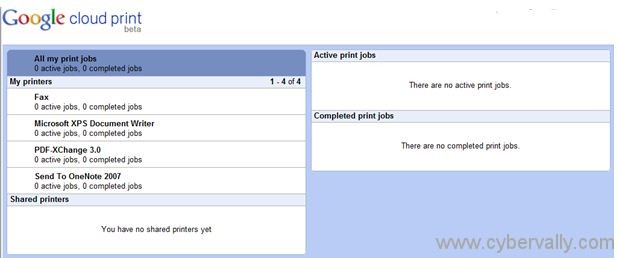
You can also manage printer settings. When you click on “Manage Print Settings† button as shown below.

Cloud Print Page where you will be managing your cloud print connected printers and print jobs will open in a new Chrome window.

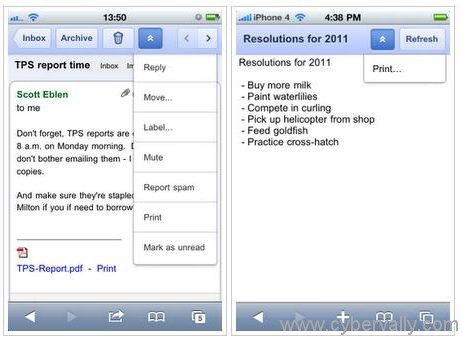
Now Google Cloud Print is included for smartphones also, and enabling users of GMail or Google Docs to send pages from their phones out over the internet for print on a printer connected to Google’s cloud.

If you enjoyed reading this post, please consider leaving a comment below or subscribing to the feed 😀


Sounds good to me. We have 2 PC’s and 2 Netbooks and it would be the ideal solution. I am going to give it ago. thanks for this